If you are searching “germinating seeds in paper towels,” chances are you are a new avid planter, or you wish to grow plants the easy way! Look no further because I have just the tips for you! Check out my full instruction on germinating seeds using paper towels and some simple tools you can find at home. And learn how to care for your seedlings and young trees along the way.
Why Germinating Seeds In Paper Towels Is More Recommended Than In Soil?
Plants grow in soil and dirt, so why don’t we germinate seeds in their designated environment? Germinating in the soil is a traditional method, but it has some downsides. Check out the benefits of applying the paper towel and soil methods below!
Benefits of germinating seeds in a paper towel
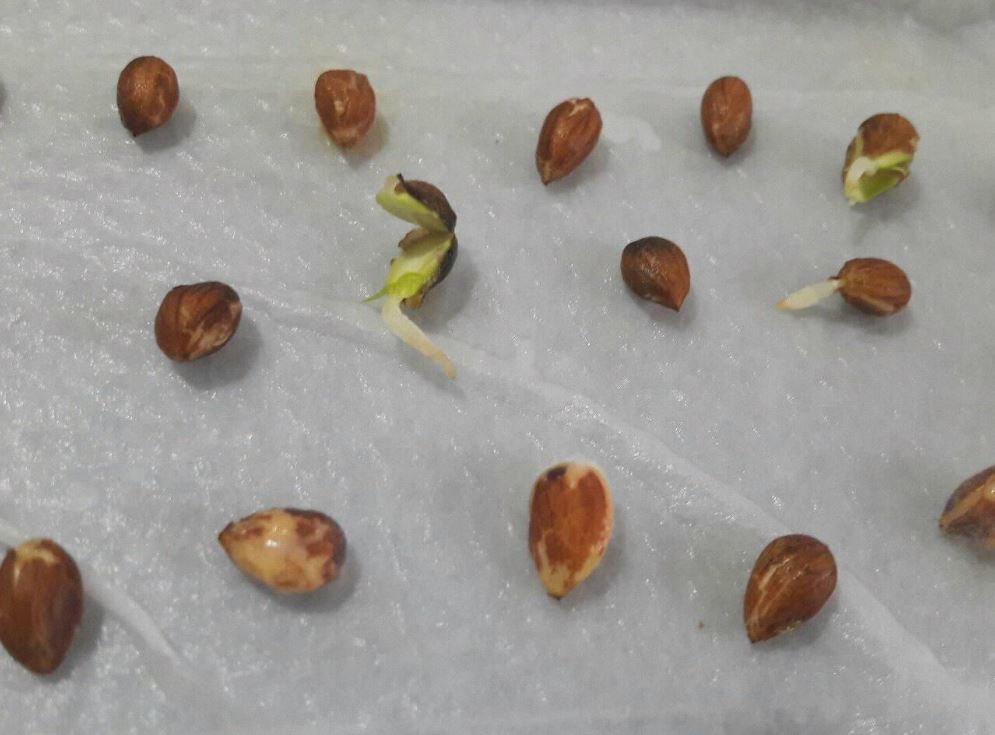
- A clean method that allows users to germinate seeds inside of their own homes without leaving a mess
- It avoids breaking the radicle or the first primary root of the seedling when it breaks the seed coat
- Avoids root bound if distributed evenly and away from each other
- Easy to dampen and moisturize the seeds’ environment evenly
- The paper towel method consistently provides a humid and warm environment in a sealed system (like a greenhouse) that bugs can hardly access. Planters don’t have to provide oxygen frequently
- Planters can observe the growing process of the seeds directly
- It avoids overwatering and root rotting better than the soil method
- An easy and economical method that doesn’t require much preparation (the soil method will require a well-drained soil and container system)
Benefits of germinating seeds in soil
The good: This method doesn’t require repotting or transplant, so if tree huggers have successfully made the seeds sprout, they can keep the same container until the seedlings grow too big for their starting home. This method dodges the stress that seedlings or trees go through each time they are repotted.
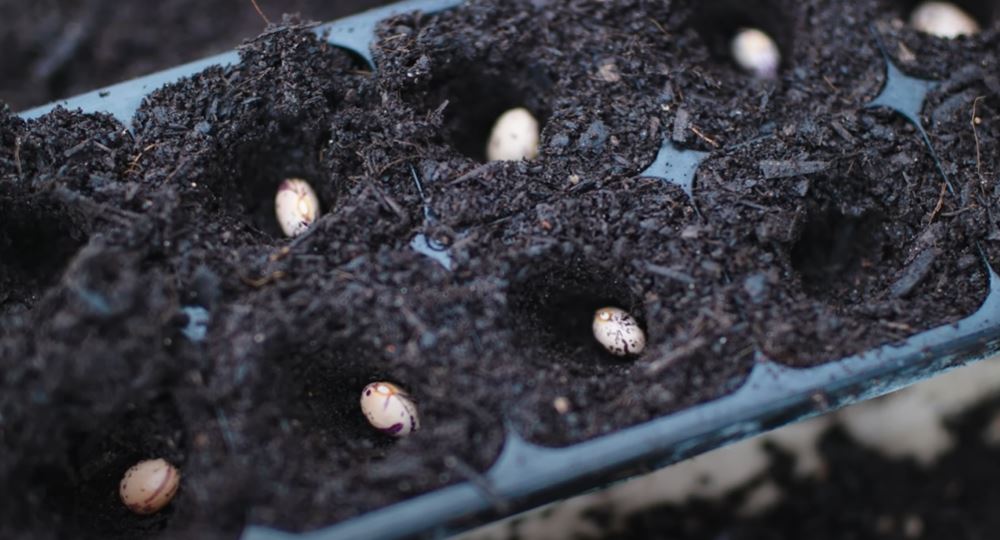
The bad: The downside of germinating in the soil is that the process requires more care and effort. Planters must prepare loamy soil and a well-drained container to avoid stressing the imbibition process.
The ugly: Also, remember that too air-tight soil and watering will cut off the oxygen source to the roots, which also is a cause behind root rot. Stunted growth and death of roots are expectable results, which seal the fate of your seedlings.
Preparation
Check out all the tools, containers for germination, and tips for learning deeper about your cultivar of choice here!
Tools
- Paper towel (tear-resistant is recommended)
- Plastic container or a Ziploc bag: Choose a plastic container if the cultivar you choose requires a long imbibition time and a lengthy germination process. This type of container can protect the seeds from future damage. On the contrary, use a Ziploc bag if the seed variety doesn’t take long to germinate and sprout.
- Spray bottle
- Plier or nail clipper to remove the endocarp or the seed coat, depending on the type of seed you choose. Use a nail clipper to detach the seed coat of a tiny seed and the plier to remove the pit of larger seeds.
Containers
There are various types of containers. If you want to avoid repotting, picking a large container from the beginning won’t do any harm if you use loamy soil or don’t water excessively. On the contrary, if you want to work up the system gradually to control the saplings’ living conditions better, choose a container suitable for their sizes.
5 common containers or starting systems are:
- Nursery or retail pot: This is the most traditional starting system and the easiest to get. If you are somewhat clumsy and want to avoid breaking a precious ceramic pot, you can opt for a plastic nursery pot. But if you prefer a sustainable and creative-looking container, choose a retail pot instead.
- Net pot: This system is commonly used for hydroponics that involves growing plants without using soil, only water, oxygen, and special gardening solutions that contain nutrients suitable for each species.
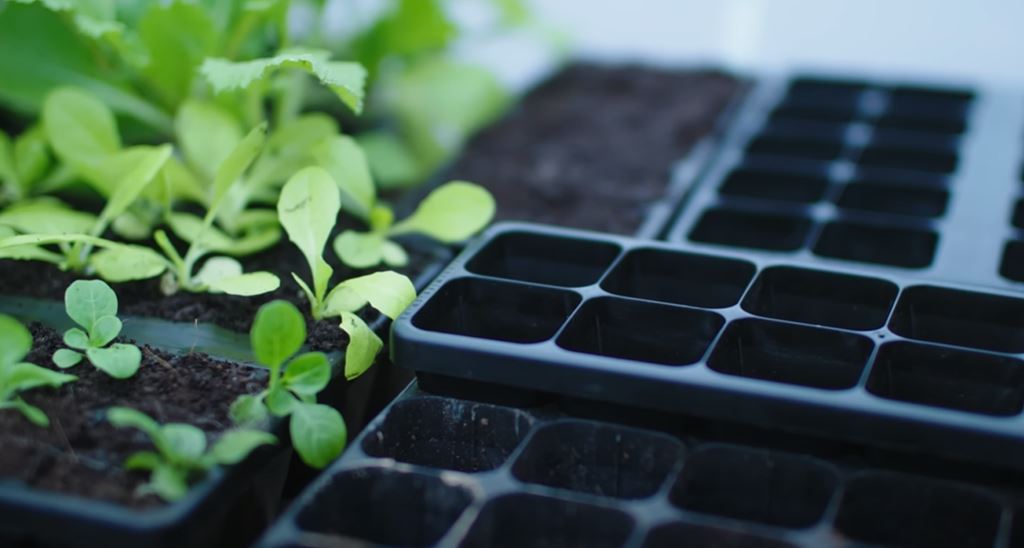
- Cell flat: Perfect for germinating a large number of seeds at the same time, the cell flat system divides a single tray into multiple small slots where people can fit one seed or seedling. The system is well-organized and avoids tangled roots between seedlings.
- Air-pruning container: This type of pot or container has holes and vertical rib-like structures that promote healthier root growth where roots aren’t restrained and tangled against traditional pots’ walls. The roots that grow past the pots’ wall naturally fall off, and new roots develop continuously. This pot type is also well-drained and avoids water pooling at the bottom of the root system.
- Jiffy peat pellets: It’s convenient to carry around since the pellets don’t expand in size unless you drop them in water so that the soil and mesh wall opens up. The mesh wall holds up the dirt and tree, functioning as a container. And when the seedlings need repotting, you can cut up the mesh and transfer the new young life to its more prominent home.
Knowledge about the cultivar
This is extremely important because your knowledge about the cultivar will decide the living conditions you can provide your new greens. What are the things to consider?
Time to germinate: Some seeds have different germination periods. For example, lemon seeds take 2-3 weeks to germinate, while cherry seeds must chill in the fridge for 3 months to grow a root. It would be best if you investigated the standard germinating duration for your cultivar of choice.
Climate: Not just the entire species, each hybrid needs its own adequate temperature. Sometimes we are attracted by a hybrid not suitable for our climate, but germinating it is still possible if we can replicate its usual living environment. I have had to put my cherry seeds in the fridge and wait patiently to replicate the cool winter effect, in which most cherry varieties thrive.
Root type: Knowing the root type will allow you to choose the best seed-starting system. For example, the fibrous root system of apples, plums, or peaches prefers containers that will enable them to grow abundantly, so air-pruning pots are the best future home for these species’ seedlings or saplings.
How To Germinate Seeds In Paper Towel Step By Step
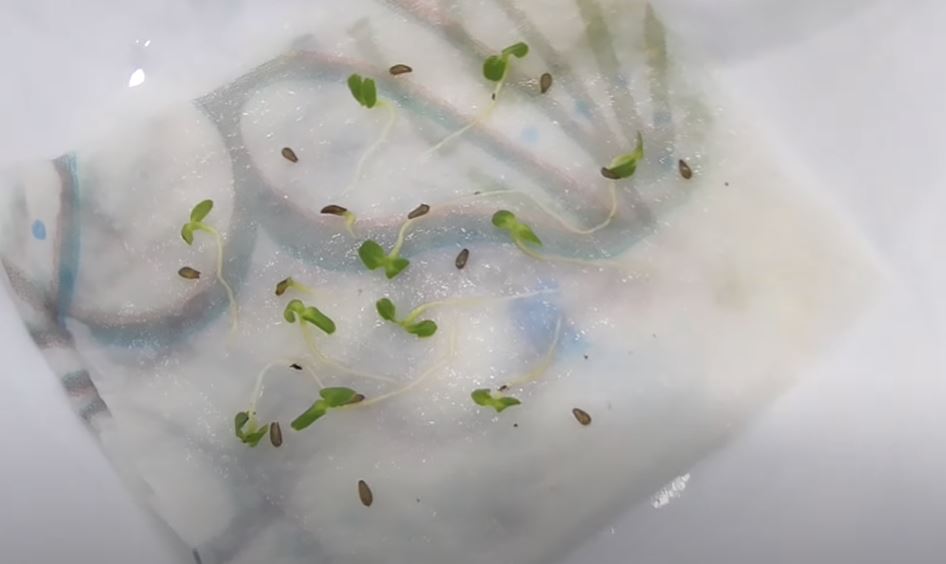
Step 1: Buy a fresh fruit from the market to get the seeds (if you want to germinate a fruit tree) or buy seed packs from avid gardeners or reliable stores (for fruits or vegetables). For each batch, you need at least 5 seeds to make sure more than 1 seed will germinate because some won’t.
Step 2 (optional): Dry the coats of the seeds if covered in mucilage (or if they feel wet and slimy) to remove the seed coats easier without damaging the embryo or the food stored. Use a nail clipper or a plier to remove the seed coat/ pit however you see fit.
Step 3: Open a paper towel on a clean flat surface, place the exposed seeds separately from each other on one half of the paper towel, and spray them until the half is damp (but not soaked). Fold the other half over the seeds and spray again in the same manner. You have to be careful in this step because if the seeds are placed too close to each other, they may suffer root bound if all germinate. And a moderately damped paper towel is a must!
Step 4: Place the paper towel with the seeds inside a Ziploc bag or a plastic container. It’s your choice. But I suggest using a container to avoid damaging the seeds during germination. Ifnot, a Ziploc bag is more compact.
Step 5: Now it’s time to provide the seeds with a consistent temperature that meets their natural need. For instance, if the species thrive in a warm climate, the top of the fridge may be their most suitable “cradle.” Wait until the seedlings appear and check every day or every few days for progress. You can transplant them to a pot after the radicle or first root grows.
What do seeds need to germinate?
4 essential elements: light, temperature, water, and oxygen are present in the care of all trees. But how strongly do they affect a seed that is in imbibition? Let’s find out!
Light
Surprisingly, most seeds don’t need light to germinate. They can easily break the coat and grow a root in a dark room without any access to light. With that said, each species is different. If the cultivars require sunlight to sprout successfully, place them near a window so they can get a daily dose of vitamin D.
Temperature
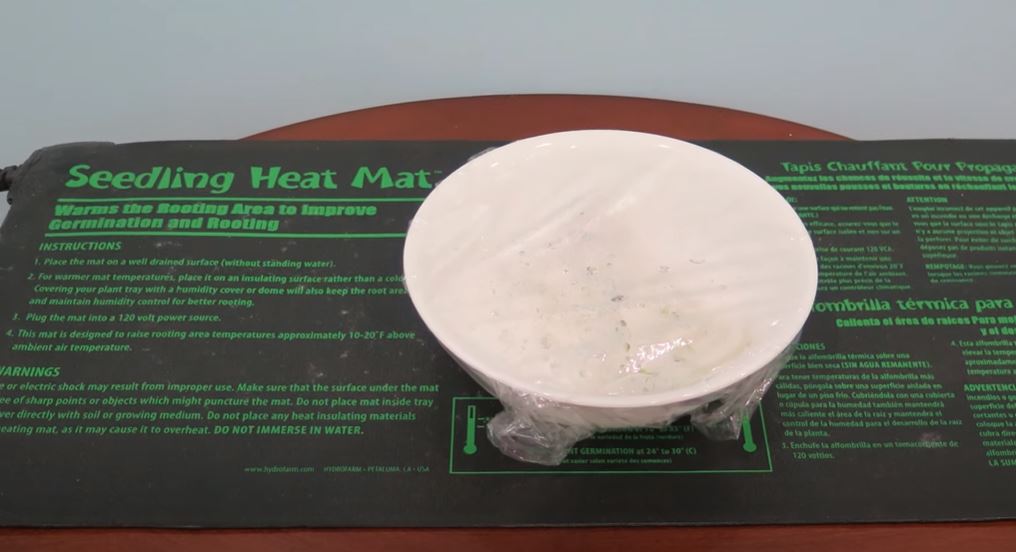
Seeds need consistent temperatures. Avoid shifting them from one extreme to another, meaning from hot spots to cold spaces. You can use a heat mat to provide a stable temperature or place the seed container on top of the fridge (only if the fridge’s top isn’t burning hot). If the seeds need cool air, leave them in corners where the sun never touches them or even in the refrigerator if the hybrid loves winters.
Humidity/ water
Crucial for germinating any seed, humidity or water is what we need to keep our eyes on when trying to make a seed sprout. A seed that doesn’t receive enough moisture won’t even grow a root to reach the seedling phase. So, check the state of the container every few days or daily. If you find the paper towel slightly dry, give it and the seeds a good spray to keep everything damp. This will activate the enzyme and support the radicle in breaking the seed coat!
Oxygen
Seeds need oxygen to survive, so provide them with just enough. If the species require only a few days to germinate, it’s not necessary to poke holes through the Ziploc bag or the container’s lid. But if the process is lengthier, try that method to give the baby seeds enough oxygen to secure the germination rate.
FAQs
Do garden seeds expire?
Yes, garden seeds expire mostly after 2-3 years with improper preservation. If kept in a cool, dark, and non-humid place, the seeds won’t develop mold and have a higher chance of germinating. Of course, before the storing phase, the priming phase is crucial. If the seeds aren’t stripped of the mucilage (slimy substance around fresh seeds), they will go bad in a few days or a week if only a bit of moisture enters.
How long does it take seeds to sprout?
It depends entirely on the living conditions the planters provide their seeds and the cultivar they select. For example, a lemon seed only takes 2-3 weeks to germinate, while a cherry seed requires 90 days or 3 months to break the coat and grow. Checking for viability is important, though. After the adequate germination period, if the seed coat doesn’t break and you see no shoot peeking out, it’s possible that the seed won’t sprout.
When to give up on seeds germination?
After the suitable germination period, for example, 30-40 days for apple seeds, if the seed coat doesn’t show any split or breakage, it’s possible that the seeds aren’t viable and won’t germinate. You can leave it in a well-moisturized ambiance for 5-10 days more to make sure that the seeds aren’t viable, but after that, if there is still no sign of development, throwing away the seeds is a no-brainer.
What are the fastest germinating seeds?
Vegetable seeds are the fastest to germinate, unlike fruit seeds, especially stone fruits. If you like cauliflowers, lettuces, tomatoes, onions, etc., and are an avid greenie, try planting these varieties for almost always viable results. They only take 3-5 days to grow a shoot!
