Are you craving some heavenly delicious stuffed celeries with cheese, bacon, red pepper, and whatever filling it is that you desire? Growing celery: from seeds to harvest is the answer. By sowing them in spring, you can enjoy a crunchy fresh dish in summer! So, if you want to add this species to your garden and control the final quality and any chemical that goes into it, check out my curated guide and fun side tips for this specific crop!
Overview
Level of difficulty: Intermediate
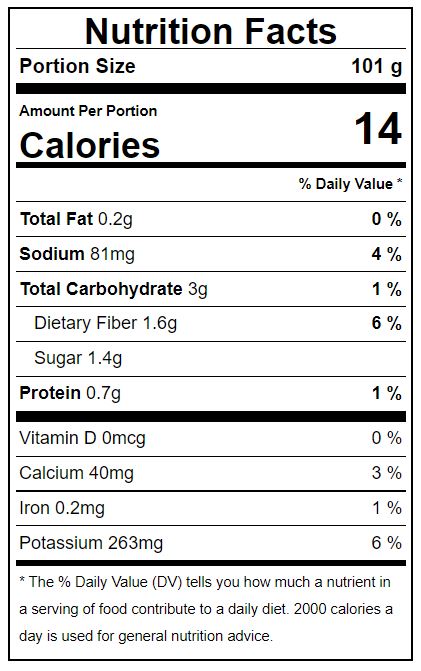
Nutrition: Celery is tasty and can spice up any dish, but this vegetable isn’t high in nutrition, which can be a good thing if greenies intend to make smoothie or consume it daily. With that said, you can always find some vitamins, fiber, and minerals in it. Eating celery may support heart health, digestion, memory, and inflammation.
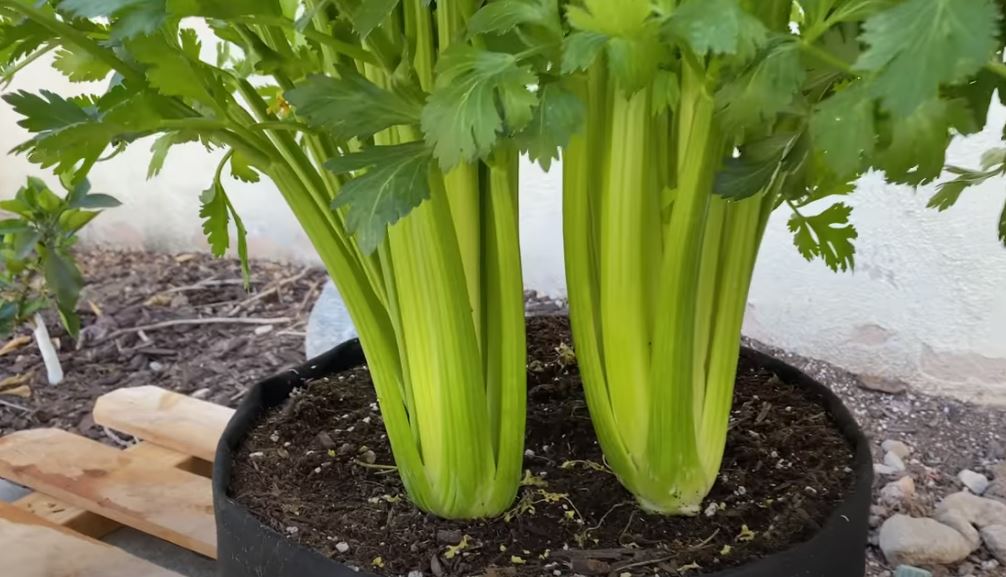
Height: Celeries grow up to 24 inches high and be planted in pots, not just in open gardens.
Time to mature: 130 to 140 days. This is a long-day crop, so it requires a bit of patience.
Season to sow: Since celery is a summer crop, farmers have to sow the seeds in early spring from March to April so that they can harvest in time before the heat start sucking out all the sweetness, moisture, freshness, and snap of the vegetable. With that said, it depends on the average temperature in your area. If you are experiencing short springs and more intense summers, sowing seeds in early spring is best.
With that said, it’s possible to grow 2 seasons of celery, one for summer and one for early winter. So, for the second season, you can sow the seeds in late August or early September and watch them thrive later in cooler weather.
Lifespan: After 4 to 5 months, we harvest the celeries, and they end their lifespan there. But, if allowed to thrive naturally without harvesting, these are biennial greens.
Preparation
Tools
- Pruning shears or scissors
- Fertilizer: balanced all-purpose fertilizer or fish-emulsion
- Soil blend with well-drained characteristics but has good water retention: loam, silt, and compost are recommended as a base
- Straw as mulch
Containers
- If growing in pots, each celery plant needs pots at least 8-10 inches deep and wide.
- If growing in garden beds, celeries don’t have many requirements other than 8 to 10 inches of deep soil.
Planting Guide On Growing Celery: From Seeds To Harvest
Welcome to my TED Talk of Growing Celery: From Seeds To Harvest, and learn all the helpful tips here!
Choose good seeds and prepare for germination
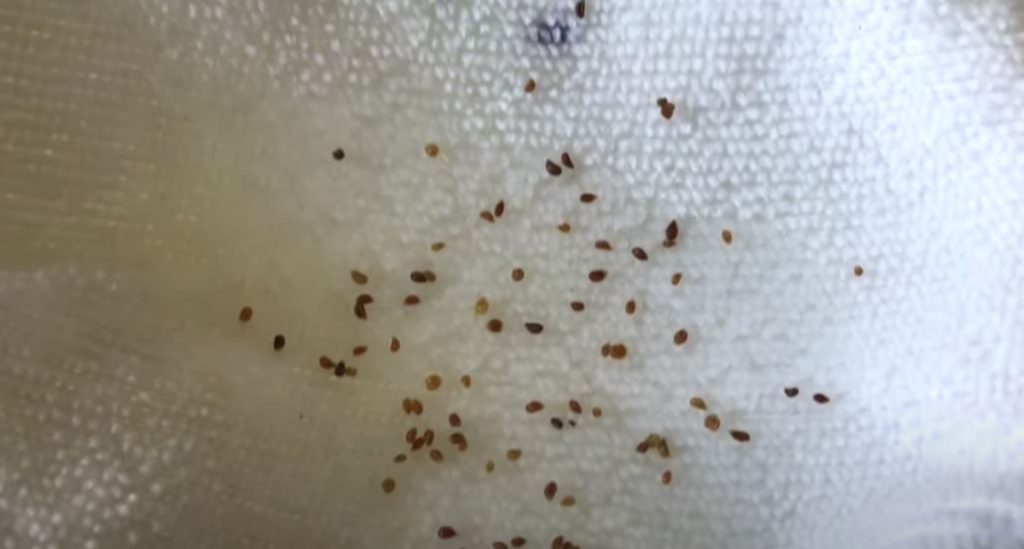
First thing first, you have to choose a reliable source to buy your celery seeds. The seeds should be harvested recently or under 2 years to ensure the highest germination rate. There isn’t a 100% accurate way to check this when buying, so a trustworthy store or farmer is the key.
To germinate the seeds, follow these steps:
Step 1: Soak the seeds (if they are dried) underwater for 10 to 12 hours to have a better chance of germinating.
Step 2: Since celery seeds are tricky to sprout, we are going to test for their viability using the paper towel method. Prepare a non-tear-resistant paper towel and open it on a flat surface. Spray one-half of the paper towel until it’s moist.
Step 3: Coordinate the seeds onto the paper towel. Remember that the seeds must be placed about an inch away from each other so they don’t compete.
Step 4: Fold the other half of the paper towel over the seeds and spray again until this half is moist as well.
Step 5: Now, carefully fold the edges and place the bundle inside a zip bag. Seal the bag tightly and place it in any corner around your house at a normal temperature, not too hot, not too cold. Wait for 7 days, and the seeds must grow a root already if they are viable. Give the seeds 7 to 20 days and remove those that don’t show signs afterward.
Seedlings and transplanting to containers or garden beds
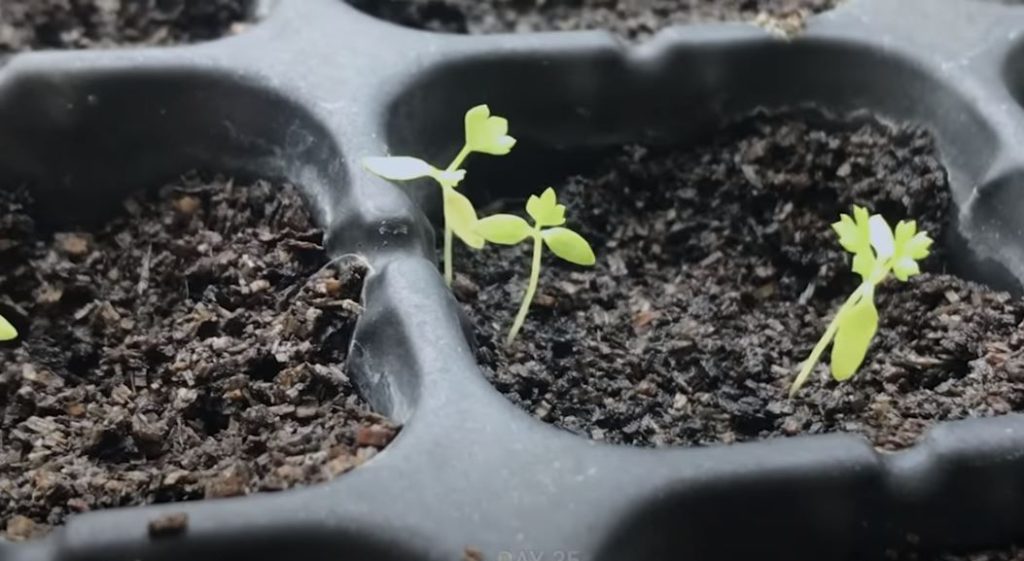
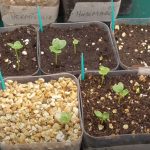
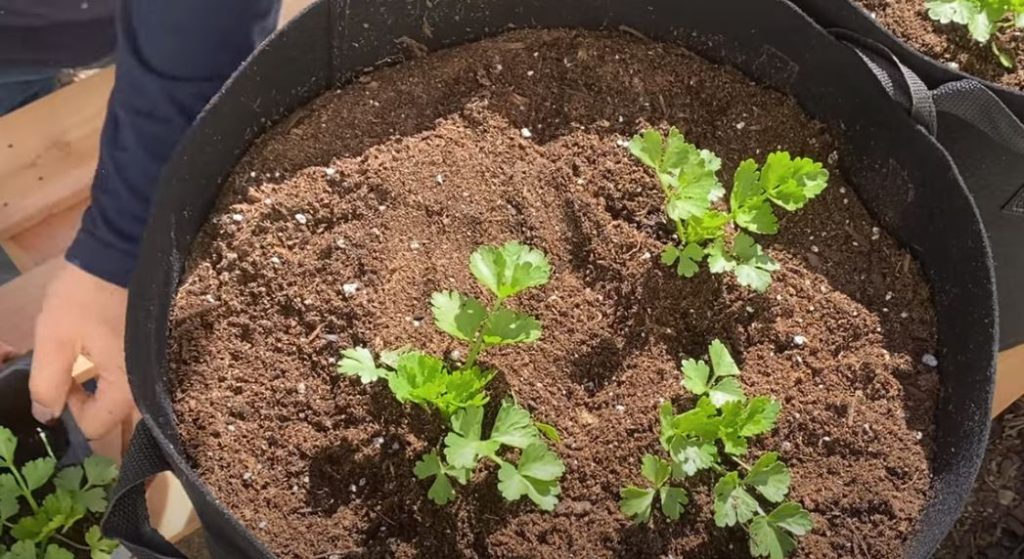
So, after 7 to 10 days, we have young root systems and maybe even some first leaves full of potential. Now it’s time to transplant them into cell flats or respective pots so they can acquaint themselves with the soil.
To remove the seeds from the paper towel, carefully use a tweezer to pick them out. If the radicles seem to cling to the paper towel, spray or wet it thoroughly and start tearing the paper away until the seeds are free.
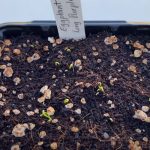
Fill the cell flats or pots with the loam, silt, and compost blend, and create shallow holes 1-inch deep for the seeds to move in. Point the roots downward and bury the seeds! In 20 to 30 days more, the baby seeds will produce big seedlings.
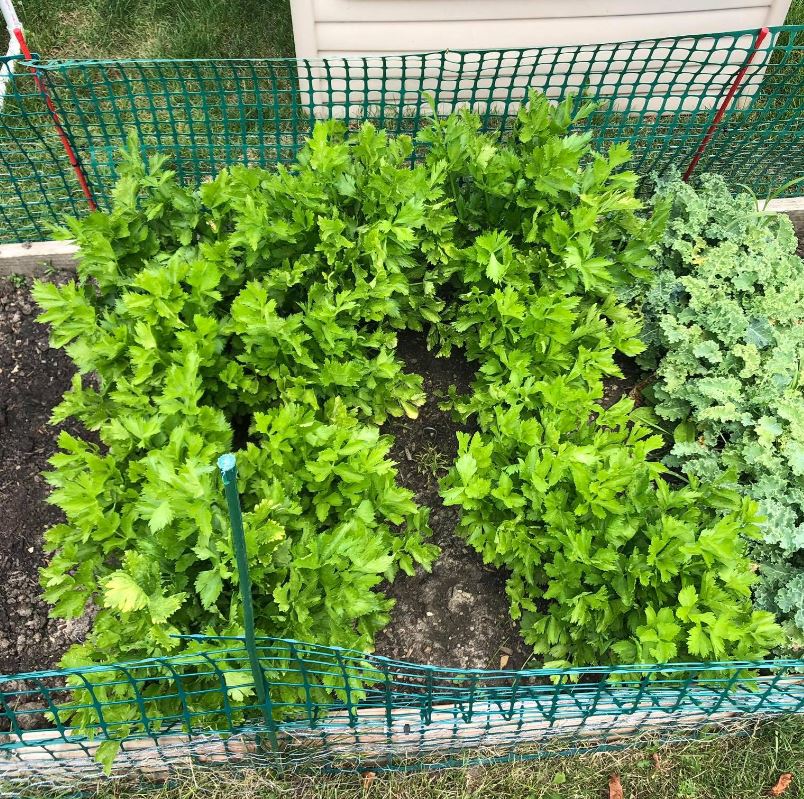
In case you grow celery in your garden, make sure that the seedlings are 6 to 10 inches apart in a row and each row is 18 to 36 inches away from each other.
Remember to water frequently during the process. This species is always thirsty for water but avoid overwatering it simultaneously. And after 4 to 8 weeks, you can fertilize the crop for the first time.
Adult plant
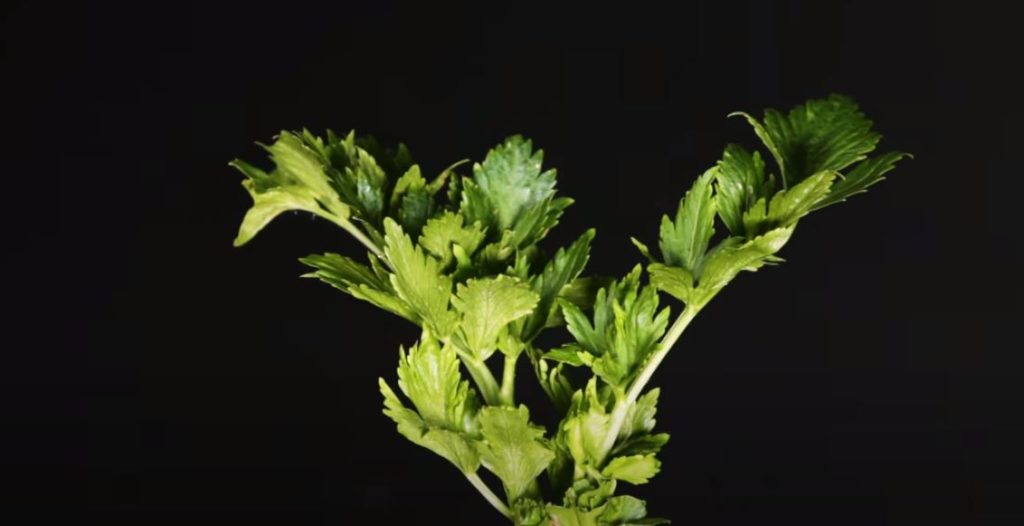
After the first month and a half of germinating the seeds and growing the seedlings to a tougher shape, it boils down to keeping an eye on the celeries and caring for them. The process takes anywhere from 90 to 120 days, and it involves watering, fertilizing, controlling the pests, protecting the plants from temperature fluctuation, etc. Check out the How To Care For Your Celery Crop section below for all these requirements!
Harvest
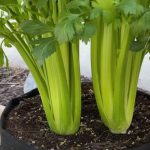
130 to 140 days after sowing the seeds, we get to harvest these crunchy greens for the freshest dishes imaginable. There are 2 possible ways of harvesting the plants:
- Remove the entire plant by loosening the soil around the stems and roots.
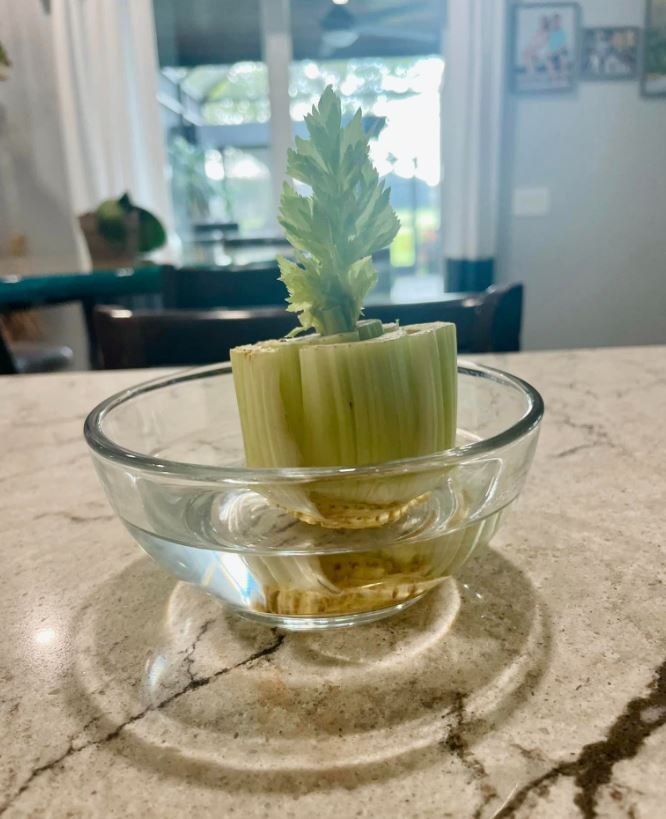
- Cut off the stalks and leaves using a pruning shear or scissors, leaving about 2-3 inches of stalk and the roots behind. Keep watering the soil, and new stems will grow from the leftovers. This method guarantees more harvestable materials, but the new stalks and leaves won’t be as prominent as the old crop, obviously.
How To Care For Your Celery Crop
Celeries are harder to grow than some other vegetables due to their demanding living environment. But it’s nothing out of this world! Follow my instructions, and you can provide ideal living conditions for them if you choose to grow celery from seeds.
Light
Celery likes growing in full sun, so make sure that your crop receives 6 to 7 hours of sunlight every day, especially during the growing phase before it ripens. If the celery receives too little vitamin D, it may not have to best flavor. So make sure at least 6 hours of sun in the morning and natural shade in the evening so the soil has time to cool off for the next day.
Outside of the growing stage, celery can get too much sun, though. When the crop is ripening and approaching harvest time, having too much sun exposure will cause it to become bitter. Giving the plants artificial partial shade is recommended then.
During the final weeks, the crop will appreciate 5 to 6 hours of sunlight every day. Using a gardening shade net to cover the plants partially is a wise method. Avoid implementing cloches because they work the same way greenhouses do, which trap moisture and temperature inside and consequently heating up the internal air and soil. And since celery is a cool-season crop, that’s not beneficial.
Temperature
Of course, we have to take into consideration the temperature that pairs with the sun exposure as well. If the temperature is naturally high and the there is no cloud to shield the sun, your celery crop will wilt, get scalded, or start bolting if it has been developing for over 2 months.
The ideal temperature range for celery is from 60 to 70 degrees F at day and 50 degrees F at night. In case of frost, celery can tolerate 30 degrees F in a short time span, lower and longer than that will freeze the plant and kill it. Regarding maximum temperature, avoid exposing your celeries to hotter days than 80 degrees F.
In case of extreme temperature and you see no way of avoiding it, consider mulching the soil around the plants with a thick layer of straw that is at least 4 inches. This layer will insulate the soil and protect it from outside temperature while discourage weed propagation.
Water
Celery is a slow-growing plant with quite a heavy water diet. This crop needs frequent and deep watering to thrive healthily and deliciously. During the rainy season, you can water the crop once a week since nature does the job for you. But if there is no rain, adjust the watering schedule to be more frequent while taking into consideration the temperature that your crops are experiencing.
There is no specific guideline for watering celery other than frequent and deep. In between days, check the soil moisture to ensure that at least the first inch or 2 inches are moist enough for the shallow root system of celeries to reach.
Of course, deep watering doesn’t equal leaving a puddle that sits on top of the soil for hours due to how much and how aggressively you irrigate. Allow the soil to absorb the liquid moderately and slowly. Don’t throw the entire can on it without considering the possibility of drowning the roots and causing yellow leaves!
Soil
Celeries require a well-drained yet water-retentive soil quality. That’s because they have a heavy watering schedule and a shallow root system, but we have to avoid soggy soil as always. Make sure that you provide the plants with the ideal texture and good nutrients. Our greens love a rich soil blend.
Diseases
Some diseases you can find in celeries are:
- Septoria or leaf spot
- Downy mildew
- Early blight
- Late blight
- Mosaic virus
To prevent these attacks that may destroy the leaves, stems, or even spread to other crops, use Iprodione or any other protective fungicide to prevent fungal diseases in your celery crops. Use this after a week post-transplantation.
Fertilizer
Since this crop enjoys rich soil with a neutral pH level around 6.5, we should add a portion of compost to the soil blend starting from germination. After that comes the fertilizing plan. 4 to 8 weeks from repotting, consider fertilizing for the first time and repeat after every 4 weeks.
For celeries, you can use almost any kind of gentle fertilizer, from all-purpose granular fertilizer to liquid fish emulsion. Side dress the granular 2 to 3 inches away around the plants and water thoroughly. As for liquid fish emulsion, dilute it with water and spray the crop according to the instructions on the label.
FAQs
Why does my celery smell bad?
If your celery smells strong and has a yellow color, the vegetable has gone bad despite looking better than it seems. Don’t consume it if it doesn’t have a good snap and vivid green color.
Can you eat celery with black spots?
If there are black spots on your celery leaves, chances are they are the result of Septoria, a type of fungi that has been causing trouble to many tomato crops. When you see the black spots, whether or not you are sure if Septoria causes them, avoid consuming the celeries or chop off the areas that are damaged by the spots since it poses health hazards.
Are celery leaves edible?
Yes, they are edible and can be used in many dishes, primarily stir-fried ones. You can try stir-frying the greens with some shallots and squids.


