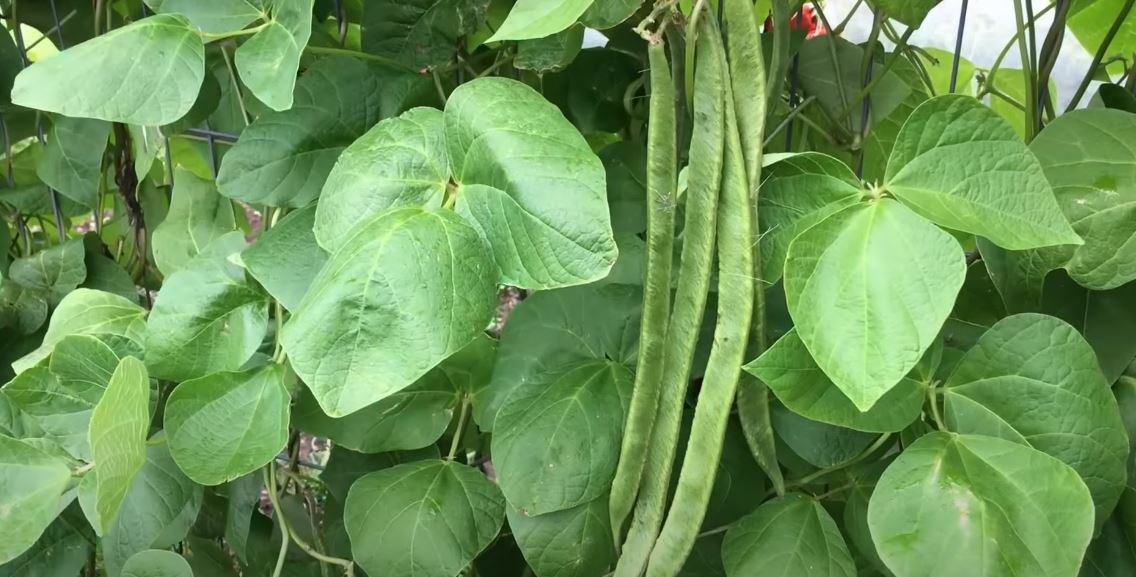
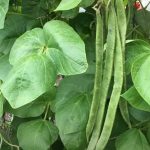
Green beans are one of the easiest vegetables to grow both indoors and outdoors, and gardeners usually sow them after the last frost of spring as a 60-day crop. But how easy can it be? Check out how effortless it was for me growing green beans: from planting to harvesting!
I will give you a quick yet curated tour of growing your green beans from seed!
Overview
Level of difficulty: Very beginner-friendly
Nutrition: Like any vegetable, green beans are a great source of nutrients. You can find high contents of vitamins C, E, B1, B2, B3, B6, B9, and K, alongside other components like calcium, fiber, calcium, copper, etc. That’s why green beans are considered a superfood, all thanks to their packed nutrients.

Eating green beans regularly will abate inflammation and regulate blood pressure. This vegetable’s fiber promotes gut health and normalizes bowel movement, which is perfect for people with constipation or other digestive issues. Of course, consuming too much fiber will cause bloating and gas, so make sure you don’t overconsume in a short time.
Height: It depends on the variety. Pole beans can climb up to 10-15 feet tall, while bush beans don’t typically grow past 2 feet.
Time to vegetate: Most green bean varieties take around 45 to 60 days to produce vegetables, and the harvest season lasts around 2-3 weeks.
Lifespan: Green beans don’t live longer than 1 year unless they are meticulously cared for. So they are commonly planted as annuals.
Tips For Choosing Green Bean Cultivars
There are many hybrids to choose from, but most of them fall into 2 categories of green bean variety:
- Bush bean: Bush beans grow up to 2 feet and are easy to grow in pots and indoors. This variety doesn’t need a supporting pole to thrive and also can tolerate poor soil. On the other hand, it won’t deliver the same yield as pole beans.
- Pole bean: This variety will produce 3 to 4 times more beans than the bush type. But you will need to provide a supporting system as its vines grow taller. In other words, gardeners need to put in more effort in exchange for abundant production.

Preparation
- Soil blend: compost, loam, sand
- Pruning shear or a pair of scissors
- Fertilizer: 5-10-10, 5-10-15, 10-10-10, or 20-20-20
- Pots that are at least 10-inch wide if you want to grow in pots (optional)
Growing Green Beans: From Planting To Harvesting
Let me show you the steps to grow your own crops of green beans, from seeds to harvest, that will only take up to 3 months. No more!
Germination
Normally I will recommend sowing the seeds indoors to have better control over the germination process, but this time is different. Sowing directly into garden soil is perfectly fine as long as you start when the last spring frost has passed.
Step 1: Scheme the time. Most green bean crops perform the best when sown in late spring, from April to May, when the temperature is consistently around 65 to 85oF. This is the best time to start your crop.
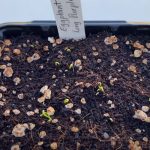
Step 2: Prepare your soil blend in a pot or garden bed. For each bean seed, you need to create a small hole as deep as 2 inches and as shallow as 1 inch.
Step 3: Sow each seed in each hole and cover them with soil. Then, top the surface with a thin layer of compost.
Step 4: Water thoroughly, but don’t make it soggy. Keep the soil moist all the time by watering lightly in the next few days. These big seeds will grow into sprouts after about 8 days. Some even emerge on the 3rd day. If the soil temperature is below 55 to 60oF, germinating may take 10 to 14 days.

Seedling
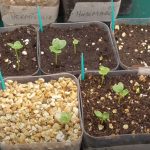
After 8 to 10 days under ideal living conditions, bean seedlings emerge from the ground, tall and proud. From then on, provide water moderately and watch how the beans grow. After 2-3 weeks from sowing, you can apply a brief spray of fungicide to prevent fungal diseases from developing.
Start using fertilizer soon, right after the first 10 days, to promote root and flower growth. After that, I suggest that you don’t apply the nutrients too frequently. Add more fertilizer once every 14 days and stop when the pods are enlarging.
Don’t fertilize until your green bean plants’ final days because it may cause wilt, root burn, or even stunted growth. If you want to reuse the soil, don’t risk destroying its microorganism.
Adult plant
After around 17 to 20 days, the flowers start emerging and bloom rather quickly. From the 30th day, the bean pods become more and more evident. And the care we provide for the plants consistently revolves around watering – fertilizing – controlling diseases.

Make sure the plants receive a lot of suns so that the stems grow taller and produce more buds and pods.
In case the temperature gets too hot or cold, mulching the soil will protect the growth of the beans. Use compost or straw to carry out the task!
Hand-pollinating indoor trees/ Outdoor pollination
Beans are self-pollinating and don’t require bees or humans to intervene in the process of producing fruits or vegetables. In other words, green beans have complete flowers that include both male and female reproductive parts. So, no need to worry about it!
Harvest
The time you should start harvesting depends on the bean variety’s harvesting season as well. Some are early-harvesting crops, the others are late-harvesting types. The average span after sowing the seeds is 45 to 60 days. Picking the beans after that will be too late as they toughen up, and the fibers are more prominent, becoming unpleasant to consume.
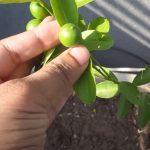
Harvest-test a bean pod to see if the plants are ready to give up on their vegetable or not. If the color is bright green and the pod snaps away from the stem easily, you can also start picking the other pods. Use a pair of scissors or small pruning shear for this task to avoid breaking the pods into halves.

The pods will keep producing more beans after harvesting for a few weeks, so make sure that you don’t damage the branches or stems. Keep harvesting for about 2 or 3 weeks, and the plants will stop producing quality greens. Then, it’s wise to rotate the crop and revive the nutrients in the soil. Don’t keep planting green beans in the same spot in the same year!
How To Care For Green Beans From Their Young Age To The Mature Phase
Providing an ideal living environment for your green bean crops will ensure an abundant yield right from the first try. So learn how to care for your young greens with my tips here!
Light
Green beans enjoy living in moderate sunlight from 6 to 8 hours a day. But the greens can be directly exposed for a longer period without any problem. Therefore, it’s very recommended to plant your beans in an open garden or pot where they can bathe in the sunlight daily.
Without access to a direct light source, the stalks and stems won’t develop, and the plants die eventually. You won’t want that in your first attempt at growing a green as straightforward as green beans.
During the first few weeks of their life, in case you germinate the seeds in cell flats, bean seeds require access to sunlight or an artificial sun lamp to thrive healthily.

With that said, I recommend sowing the seeds directly in an open garden or pots instead of using a germination system and replicated sun lamp. Bean seedlings are very tough, even from their first few days as young sprouts. So they can grow in a naturally neutral or slightly acidic soil with a pH level between 6 and 7, and a good diet of full sun.
Temperature
Green beans are grown in late spring after the last spring frost has passed the town by. These are warm-season crops, so it’s expectable that the temperature doesn’t drop lower than 65-85oF.
Anything lower will quickly snap the life out of your green bean crops, and anything higher will cause the flowers to drop and impede pod formation, which are the parts we consume. We don’t want that kind of slow-running business going on in our bean crops!
Water
I find watering green beans to be quite standard. Some recommend watering daily in the first week to trigger germination. Some say 1 to 2 inches of water per week is more advisable. All can be true, but you must adapt the watering plan according to how fast your soil blend drains and how hot the climate where you sow the seeds is.
In general, it’s wise to keep a more frequent watering schedule before and during the germination period. When seedlings have appeared, you can slow down with the watering and boost the moisture back up when the flowers start blooming and after they have bloomed.

How do we check?
- Around the germination time, keep the soil moist at all-time but not drenched. Make sure that the first ½ inch of soil is always moist.
- After that, reduce the frequency and water when the first inch seems slightly moist, allowing it to dry out a bit between watering sessions.
- Get the rhythm back up during the flowering stage to make sure that the pods receive enough moisture to grow up juicily and largely.
Oxygen
Green beans enjoy well-drained soil that retains water moderately so that the roots can access oxygen and converts it and other nutrients into energy to grow foliage, flowers, and vegetables. Whatever soil mix you use, it should contain sand, loam, and compost. The texture should offer decent water retention without getting compact or heavy easily.
Avoid using clay soil or silt-based blends as the moisture isn’t well-kept, and it gets compact due to watering. With that said, deep watering will clog the air pockets. So even though frequent irrigation is expected during the first weeks of green beans, soaked soil is still out of question.
Diseases
As I said, the watering schedule of green beans is quite standard, and overwatering isn’t recommended as it will attract fungal growth. We can list some of the common diseases as below:
- Powdery mildew
- Fusarium wilt
- Root rot
- Leaf rot
- Misshapen pods
- Anthracnose

When there are signs of diseases or bugs circling the beans, don’t hesitate to employ fungicide because there is no more effective method than this. If you allow the fungi to propagate, the plants won’t survive, or the yield will smack to the ground face-down. Cutting down the irrigation intensity will also assist the treatment, but it won’t be one itself.
Fertilizer
A balanced fertilizer or one with higher potassium and phosphorous ratio will be perfect for green bean crops. You can choose different products with ratios of 5-10-10, 10-10-10, 20-20-20, or 5-10-15. As beans are quite fragile plants, I suggest using liquid fertilizer to avoid burning the roots and stems.
How to prune green bean plants
Regarding bush green beans, it’s not necessary to prune them since the trees themselves are already short, and pruning won’t provoke a better harvest either. With that said, during the growing stage, if you find branches or leaves damaged by overwatering, rot, or fungal disease, don’t hesitate to use a pruning shear on these unfortunate fellows.
Regarding pole beans, I recommend pruning only the top of the vines. This action will signal the plants to send more nutrients to spawn more pods.
Growing green beans is no difficult task. Just make sure that you follow my instruction, and you should be able to make fresh dishes with each juicy pods! Feel free to adjust the living conditions according to your area’s climate and the plants’ needs.
