Do you know that broccolis bolt quicker in hot summer months, and you may not harvest it in time to eat? Learn all tricks on how to grow broccoli from seeds here! Even though it’s not too complicated to grow this vegetable, new broccoli planters may not know the optimum environment to sow and grow this cool-season crop. Allow me to help you!
You can find all the information you need about germinating broccoli seeds, developing the heads, and harvesting the final products. Enjoy this green after 90-110 days only!
Overview
Level of difficulty: Intermediate
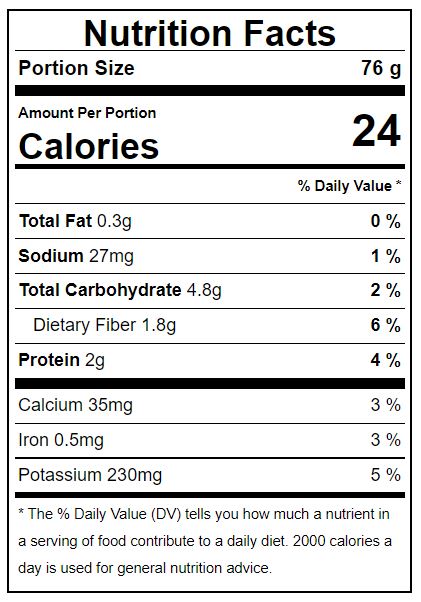
Nutrition: There are many health benefits of eating broccoli, like improving the immune system, fighting cancer risks, keeping cholesterol levels low, and making bones stronger. Broccoli is commonly used in both vegan and non-vegan dishes and has a mild and sweet flavor as well. So don’t hesitate to add it to your diet.
Height: This plant can grow up to 36 inches tall, so it’s best to sow the seeds outdoors with a supporting structure.
Time to vegetate: Broccolis usually takes 90 to 110 days to start bolting and dropping seeds.
Beast seasons to sow: The entire spring, preferably early spring, or early fall.
Lifespan: Broccoli is an annual or biennial type, but most farmers only grow it in one season. From the same top central stalk where you cut the first big head, new smaller side heads will appear and develop for the next few weeks. So the common estimated lifespan of this species is 3 to 4 months.
Tips For Choosing Broccoli Cultivars
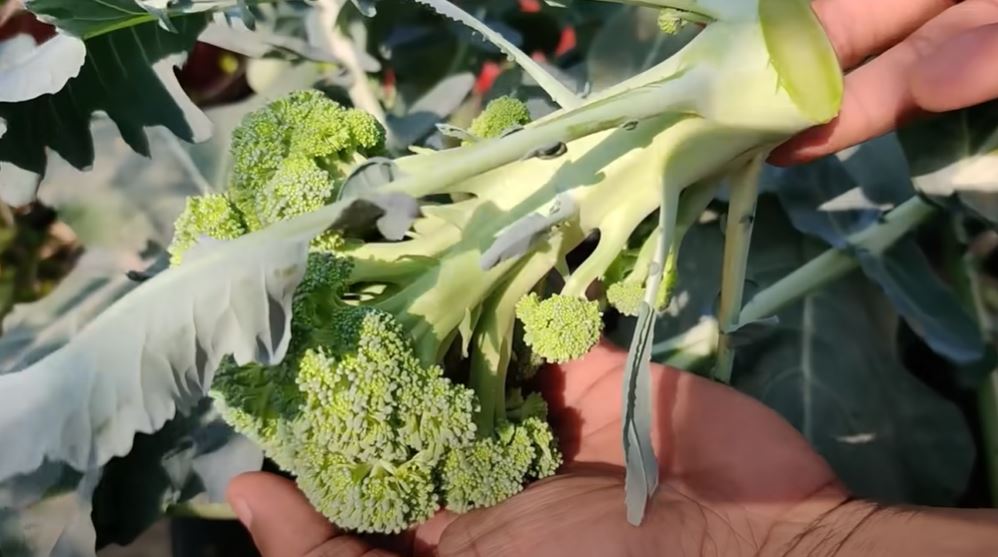
Yes, there are numerous broccoli cultivars to choose from, but I recommend these hybrids if you are just starting out with your first crop:
- Paraiso: This hybrid takes 85 to 100 days to develop and is quite heat-tolerant as it’s mostly sown in spring or summer. The size of the heads is medium, with green and uniform beads.
- Gemini: This hybrid takes 80 days from sowing to harvesting and is usually sown throughout spring. Gemini has good disease-resistant nature and is quite easy to care for.
- Blue wind: This hybrid loves full sun and can produce plenty of side shoots. It also takes only 50 days to mature. Blue wind is the answer if you love broccoli with a slightly sweet flavor.
- Marathon: Sunny, well-nutrient soil and cool temperature are some of the standard conditions to grow Marathon broccolis.
- Belstar: Belstar broccolis love warm weather and are quite heat-tolerant, but they can also thrive in mild winters! The hybrid grows side shoots as well.
- Calabrese: This type of broccoli takes 3 to 4 months to grow, and it requires a lot of sun and nutritious soil with high nitrogen components. It is also slightly heat-tolerant and produces side heads as well. Some varieties don’t have side shoots or heads like this one.
Preparation
- Pruning shear
- Retail or nursery pots with at least 12-inch diameter
- Soil blend: 2 parts clay, 2 parts loam, 2 parts compost, 1 part peat moss
- Fertilizer: 5-10-15 or 5-10-10
- Cell flats
Planting Guide On How To Grow Broccoli From Seeds
There are 4 stages of growth that each broccoli goes through: germination, seedling, vegetative stage, and mature stage. We will be focusing on the first 3! Check out how to plant broccoli here!
Germination
For broccoli seeds, I recommend germinating directly in soil to avoid another extra step of transplanting. With that said, you can apply the paper towel method to pick viable seeds easier. There is no major downside to this method, either.
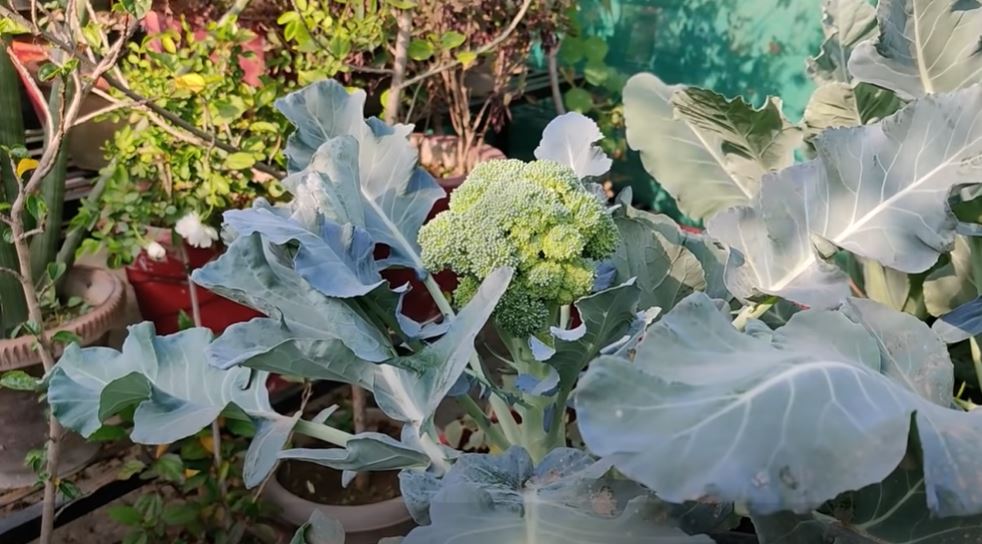
To germinate broccoli seeds in soil, follow these steps:
Step 1: Mix your soil blend with the materials I recommended (clay, loam, compost, peat moss) and fill the cell flats with the mix.
Step 2: Create a tiny and shallow hole in the middle of each cell, no deeper than 1 inch.
Step 3: Sow the cultivars that you have chosen. Remember that each cell can only bare 1 seed so that they don’t compete for water and space with each other.
Step 4: Cover the holes with a bit of dirt, don’t bury the seeds too deep since it needs oxygen and access to water near the soil surface.
Step 5: Water each cell lightly. Don’t drown the seeds but make sure that the soil is moist at the same time.
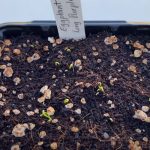
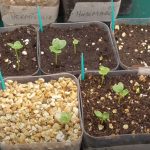
Step 6: After 5 to 8 days of daily watering, you should see the cotyledons and the first stalk poking through the ground. If there is no sign of germination in some seeds, allow them to sit for 2-5 more days just to make sure and dump those inviable then. After all, it’s not rare for gardeners to lose patience and sometimes throw away good seeds.
Transplanting seedlings to containers or garden beds
Quick tip: It will be perfect if you can grow broccolis outdoors in garden beds since this species has giant leaves that will grow sideways and occupy a lot of space. But in case you can only plant in pots, make sure to choose pots with a diameter of at least 12 inches, as I recommend. A 20-inch pot will even be better.
Step 1: Fill your garden beds or pots with the soil blend I recommended.
Step 2: Create holes large enough to hug the root systems of the broccoli seedlings. This time you may dig 2 to 3 inches deeper, depending on the height of the seedlings or young plants at the moment.
But the recommended method is to plant slightly more profoundly than in the germination phase so that a short portion of the stalks grow underground, giving the plants a more secure form and a chance to cool off during hot days, especially if you are growing broccoli in summer.
Step 3: Give the baby plants a splash of water briefly and focus on watering the soil around them.
Step 4: After about 3 to 4 weeks of being transplanted into the new home, the seedlings now need a boost of nutrients. Distribute a teaspoon of 5-10-10 or 5-10-15 fertilizer on the top soil around the plants near where the roots go and water lightly.
Adult plant
Since all broccolis are heavy feeders and love soil rich with nutrients, especially phosphorous and potassium, keep providing fertilizer every 3-4 weeks. You don’t have to switch fertilizers or alternate the NPK ratio. Simply use the product you have been using since the plants are young.
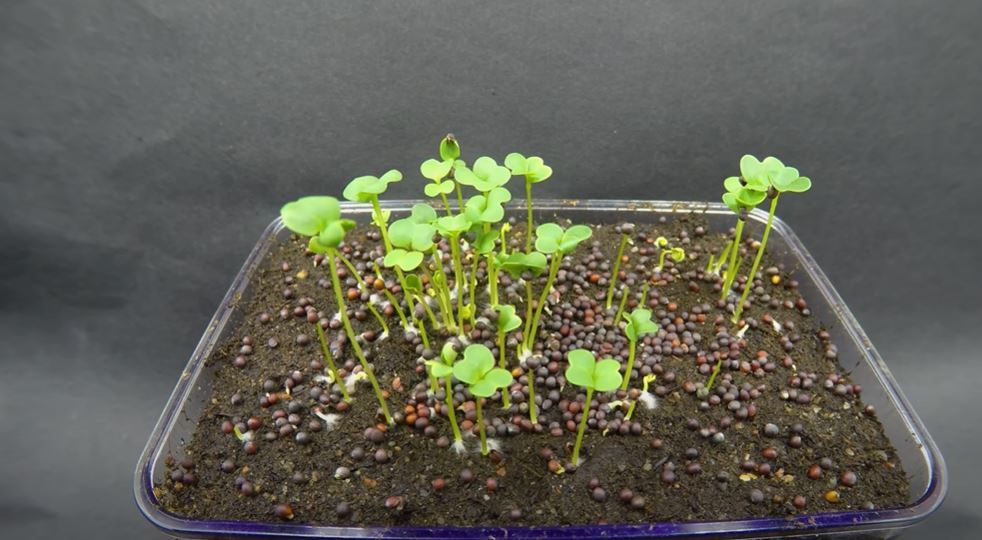
Depending on the variety, the first large head should form after 60 to 80 days after transplanting. The core stalk will produce 1 head only. After that, the broccoli heads take less than a month to bulge.
It’s very important to control the temperature at this stage. Keep your broccoli crops cool between 40 to 75oF, depending on the variety. If the crops are exposed to temperatures above 80oF for too long, the plants will bolt, and the head won’t be consumable.
Pollination
If you aren’t looking forward to making the plants bloom and produce seeds, pollinating broccolis is unnecessary, as the heads don’t need pollen to form.
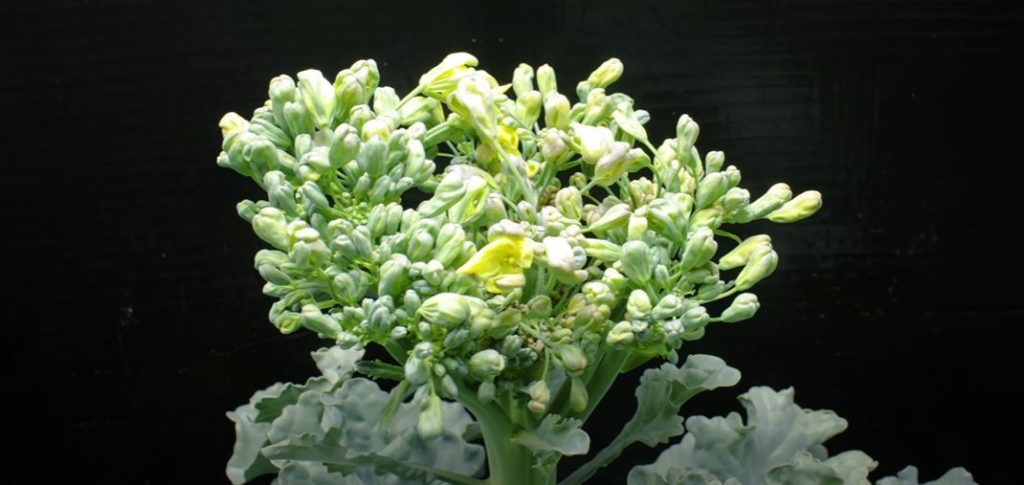
In case you want to gather seeds, remember that broccolis are self-unfruitful and need help from insects or humans for cross-pollination. You will need pollens from other varieties of the same species (Brassica family) to pollinate, like cauliflowers, collards, or Brussels sprouts.
Harvest
This step is very important because if you remove the entire plant after harvesting the central stalk’s head, you won’t be able to enjoy the new shoots that keep on growing for up to 2 months.
Use a pruning shear to cut the broccoli heads before the beads turn yellow. Don’t be afraid to cut the heads or crowns with about 2-3 inches of the core stalk. This part also is consumable.
After that, keep watering as usual and provide fertilizer once more. Now that the nutrients and moisture don’t have to focus on raising the crowns, they can distribute and support side shoots from sprouting and bulging. Keep on harvesting these florets for a few weeks more. A new one will emerge after you cut a floret or shoot. Stop only when you see no sign of a new vegetable.
How To Care For Broccolis
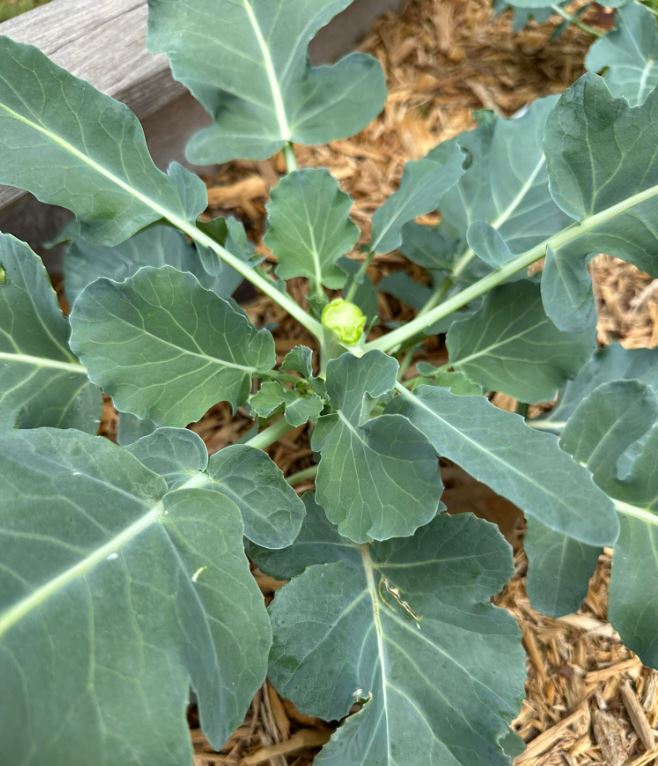
How should we adjust the living conditions of broccolis? I have the answer here! Check out the ideal temperature, moisture, fertilizer, etc. to grow this vegetable.
Light
Broccolis and cauliflowers prefer living in full sun with natural shade in the afternoon. They typically need 6 to 8 hours of direct exposure daily, so it’s best to plant the vegetables in open garden beds or inside pots but outdoors. They aren’t afraid of sunlight, so you don’t have to shield them further.
Temperature
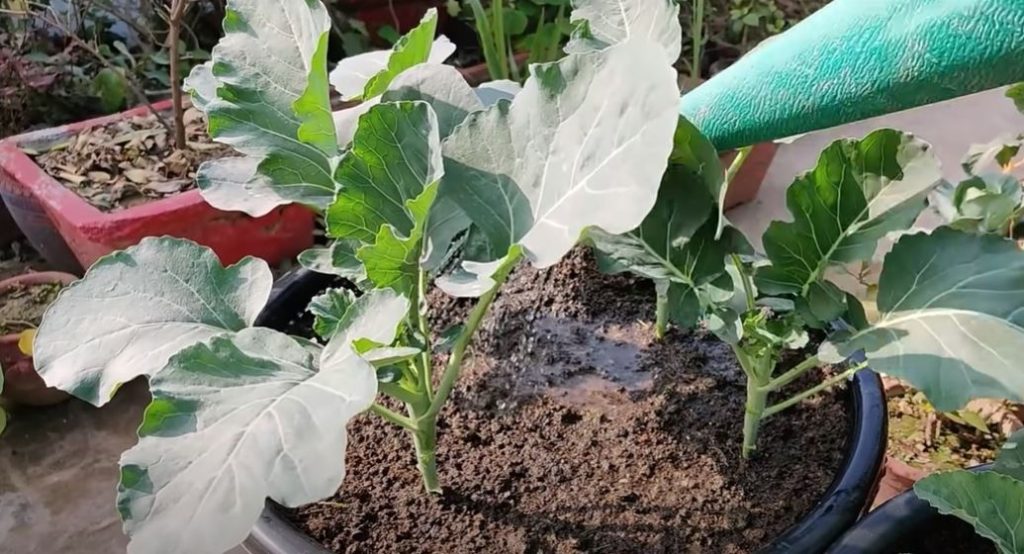
Despite their loving nature towards sunlight, broccolis hate hot days to the core. Why? Because excessive heat causes them to bolt, and the crown becomes inconsumable, which isn’t something gardeners look forward to.
That’s why it’s important to sow the seeds and let the plants grow during months that aren’t too hot. I heavily suggest early spring and early fall as the starting points for this species.
If you want to start the crop in summer, ensure the soil contains high clay content and water it frequently. The combo can keep the roots and bottom stalk cool all the time, resulting in a lower bolting possibility.
Humidity/ water
Since broccolis have a shallow root system, gardeners shouldn’t water too deep because the roots can’t access the resource anyway, and it may even cause problems like loose head or attracts fungi. However, this species is thirsty for water, so it’s advisable to water the crops very frequently, especially during the first developing stages of the plants.
Water daily during germination and seedling period and start thinning out the watering schedule when you have a young plant (about 35 – 45 days post-germination). This species only need 1 to 2 inch of water per week henceforth.
Most recommendable irrigating system for broccolis: drip irrigation. The same as lettuce or cabbage, I advise against backsplash and making the leaves constantly wet. This will result in leaf rot, and bugs and blights may approach and cause diseases.
Oxygen
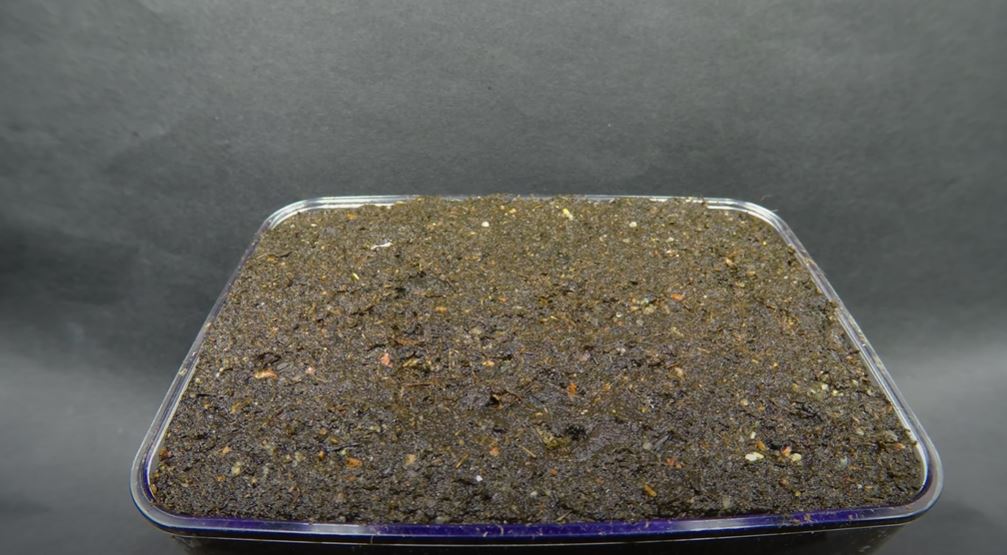
Every plant needs oxygen to thrive. That’s why it is necessary to add compost to the soil blend alongside clay and loam because the soils don’t provide enough air pockets. Make sure you don’t overwater either because it cuts off the oxygen flow to the roots.
Diseases
Some common diseases that broccolis manifest are:
- Leaf spot
- Clubroot
- Black rot
- Downy mildew
- Damping Off
These are fungal and bacterial diseases and can only be treated with fungicides and controlled watering style. A drip irrigation system is very favorable. But if not possible, watering the soil instead of pouring it on the vegetables directly will prevent pathogens from attacking.
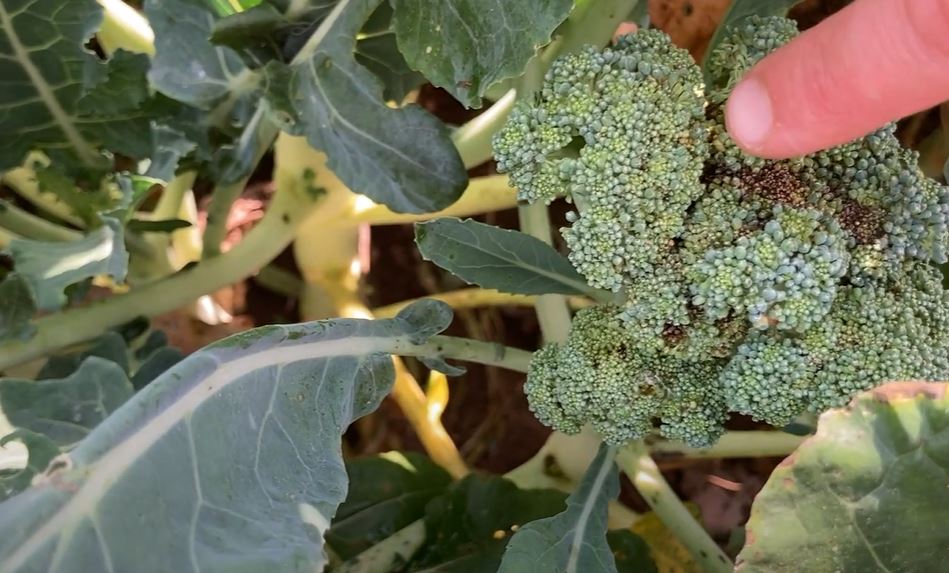
Another condition that broccolis usually catch is a hollow stalk or hollow stem. It occurs when the core of a broccoli’s stalk is hollow due to various reasons like high nitrogen feeding or lack of Boron. Adjusting the supply of these nutrients will only help crops that aren’t already affected. Sadly, a broccoli plant with a hollow stem is incurable and will impact side shoots’ spawning.
Fertilizer
As you can see, I have suggested complementing the crops with 5-10-15 or 5-10-10 fertilizer. A lower nitrogen ratio will benefit the crops’ stalk from an early age by avoiding hollow stem development. I understand you may find various sites with opposite opinions about this matter. But trust me on this! Your crops won’t do well with nitrogen-rich fertilizer!
Fertilize once every 3 to 4 weeks (preferably 4 weeks) to keep the soil rich with nutrients. Your broccolis will be very happy about it!
Planting broccoli from seeds isn’t too complicated. Follow my steps, and you should be able to make a stir fry soon with this sweet and fresh vegetable!


