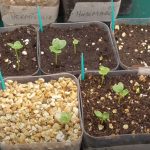
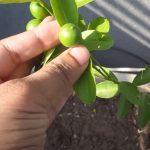
Bell peppers, green, red, or yellow, are some of the most creative ingredients for both vegan and non-vegan dishes. So, to spread my love for the vegetable, I will show you how to grow peppers from seeds! It will take you only 3 to 5 months to enjoy the first crop in your garden with a wonderful grassy, sweet, and tangy flavor!
I will show you all the steps, from germination to harvest, and you can enjoy different recipes in no time.
Overview
Level of difficulty:Easy
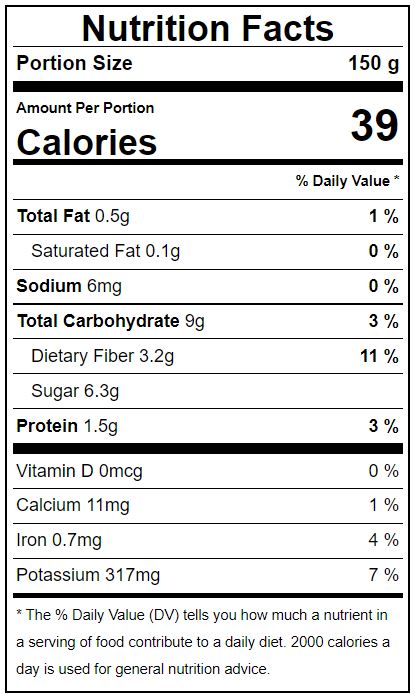
Nutrition: Bell peppers are rich in Vitamin C, E, calcium, magnesium, phosphorous, potassium, and water. That explains why the vegetable is so juicy!
Eating peppers will bring about various health benefits regarding heart health and cancer prevention, all thanks to the antioxidant nature of the fruit. If you want to grow peppers for their health benefits, allow them to redden because they pack more nutrients than yellow or green peppers.
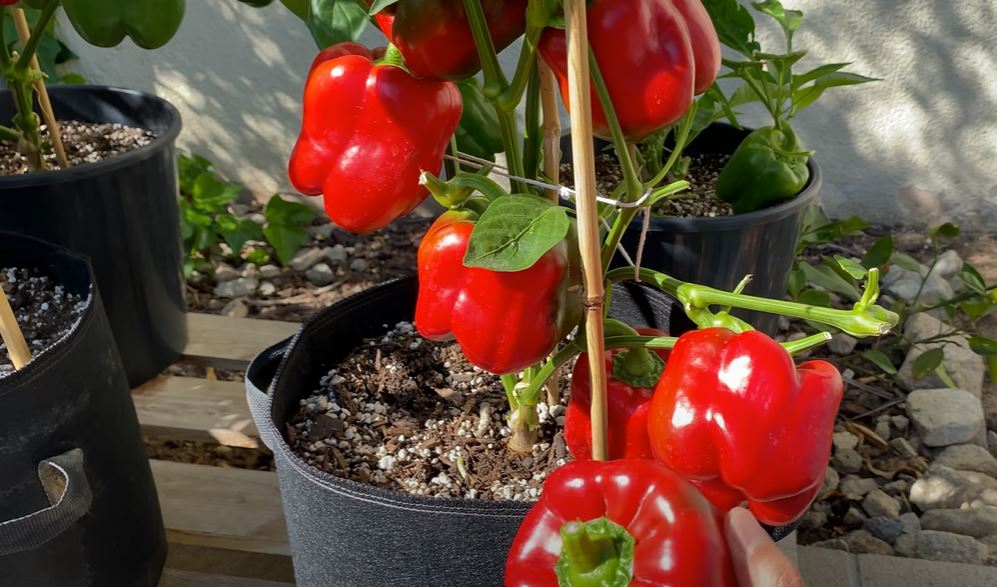
Height: Bell pepper trees can grow from 6 to 12 inches, and even small plants can produce a medium fruit size.
Time to fruit: 2-3 months depending on the pepper variety. Peppers are commonly grown from late February to April.
Lifespan: Most gardeners grow bell peppers as an annual plant type, but this species is perennial and will happily produce more fruits in the next harvesting season if treated well enough to survive the winter. After harvesting, if you leave the bell peppers inside the fridge, they will last for another 2 weeks. But if left outside, their lifespan is cut short to 5 days.
Tips For Choosing PepperCultivars
There are many pepper varieties to choose from:
- Bell pepper
- Banana pepper
- Cherry pepper
- Anaheim pepper
- Serrano pepper
- Jalapeño pepper
In America, bell peppers are commonly used in many dishes due to their sweet, tangy, and fresh flavor, which goes very well in a great number of recipes for vegans and meat-eaters. Bell peppers also are very easy to grow with moderate care. So I will focus on how to grow bell pepper from seeds.
Preparation
Tools
- Distilled water
- Soil: 3 parts coconut coir, 2 partsloam, 1 partperlite
- Pruning shear
Containers (one of the three)
- If grown in pots: nursery or ceramic pot with a mouth of 10-15 inches in diameter
- Raised garden beds
- Open garden
How To Grow Peppers From Seeds Step-By-Step
Check out all the steps, from germination, seedling, transplant, and even harvesting, here! I insert small tips everywhere, so make sure you don’t miss them.
Germination
You can try germinating in soil or with a paper towel. Both have their own benefits.
Germinating in paper towel:
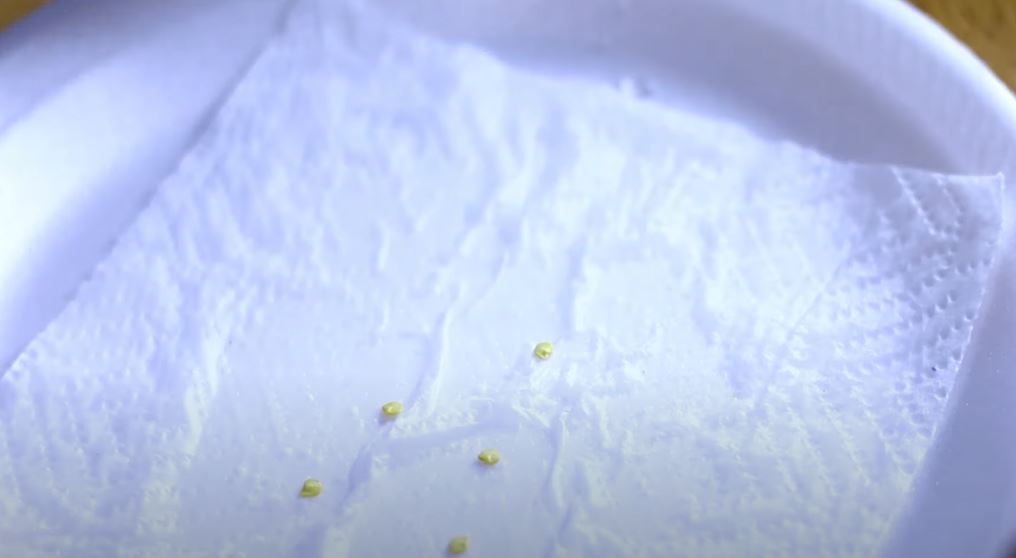
Step 1: Slice open a fresh bell pepper and recollect the seeds that aren’t damaged and have a light yellow color. Since bell pepper seeds are small, there is no need to break the coats as the layers are thin and won’t restrain the shoots from breaking through.
Step 2: Open a large paper towel that doesn’t tear easily on the table and spray it damp with distilled water. Don’t soak it too much, though, as excessive water can drown and rot the seeds!
Step 3: Place each seed on one half of the paper towel carefully so that they are about 1 inch apart from each other.
Step 4: Fold the other half over the seeds carefully so that all the seeds are covered and the moisture seals in.
Step 5: Place the paper towel in a Ziploc bag to create a sealed environment where moisture can’t escape easily.
Step 6: Keep an eye on the humidity inside the bag. If the paper shows sign of drying out, give it a splash of distilled water until it’s damp but not wet. Pepper seeds take quite long to germinate, so don’t get anxious even after the first 7 to 14 days. This step will take at least 3 weeks or at most 6 weeks to complete.
Step 7: After the approximated germination time, you can see which seed is viable by checking the radicle growth. If the seed coat doesn’t break and there is no root poking out, the seed isn’t viable, and vice versa. This is the major benefit of the paper towel method!
Step 8: Transplant to soil only the viable seeds. Face the root downward and don’t bury to seed in a thick layer of soil. And make sure to water well so that the soil blends in with the root. Check out the part below to learn more about soil and watering requirements for seedlings!
Germinating in soil:
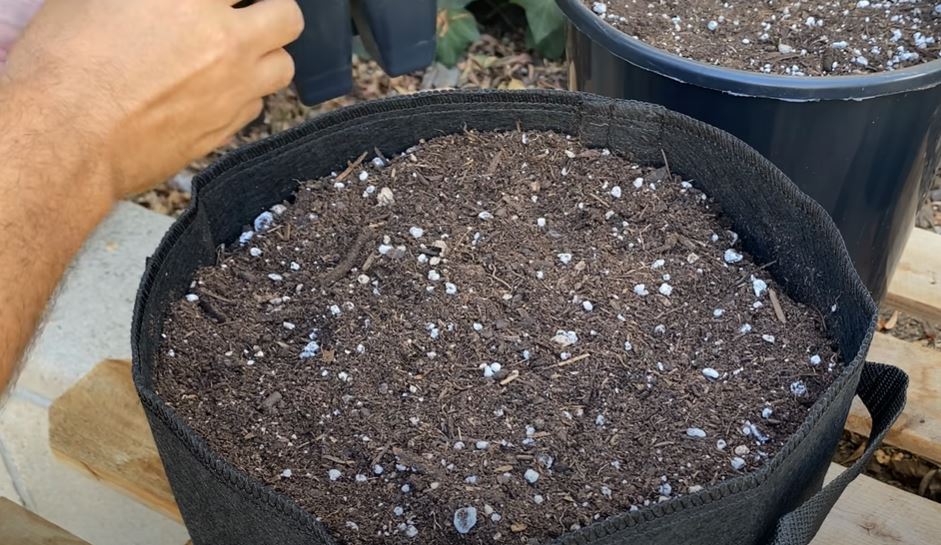
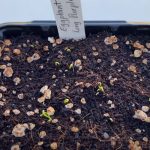
Step 1: In fact, germinating in soil may even take less time than the method above. Slice open a bell pepper and extract the seeds without damaging them. You don’t have to peel the seed coats, either.
Step 2: Mix a soil blend with coconut coir, loam, and perlite for a well-drained, oxygen-rich environment and incorporate it into your garden beds. Pour the mix into a large pot, whether a nursery pot or ceramic retail pot, with a diameter of at least 10 to 15 inches.
Step 3: Dig a small and shallow hole with your finger, no deeper than 1 inch, where you sow your seed. If you grow peppers in a pot, each seed is equivalent to one pot. In case you grow in a garden bed, sow each seed 15-18 inches apart in each row.
Step 4: Sow your pepper seeds in the well-drained soil. Cover the holes with the same soil without burying the seeds too deep.
Step 5: Use distilled water to water the soil thoroughly until it’s damp but not soaked.
Step 6: Water once every 2 days or whenever the soil seems only slightly moist to the touch. After about 8 days to 2 weeks, you may see the shoot poking through already. But don’t be surprised if there isn’t any sign of life yet because the germination duration depends on the pepper variety and the seeds’ initial quality as well.
Seedling
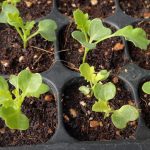
Like most plants, the 2 cotyledons, or the seed leaves, will emerge first. The first set of true leaves will emerge after 15 days for early-maturing species but may take over 20 days for late-maturing species
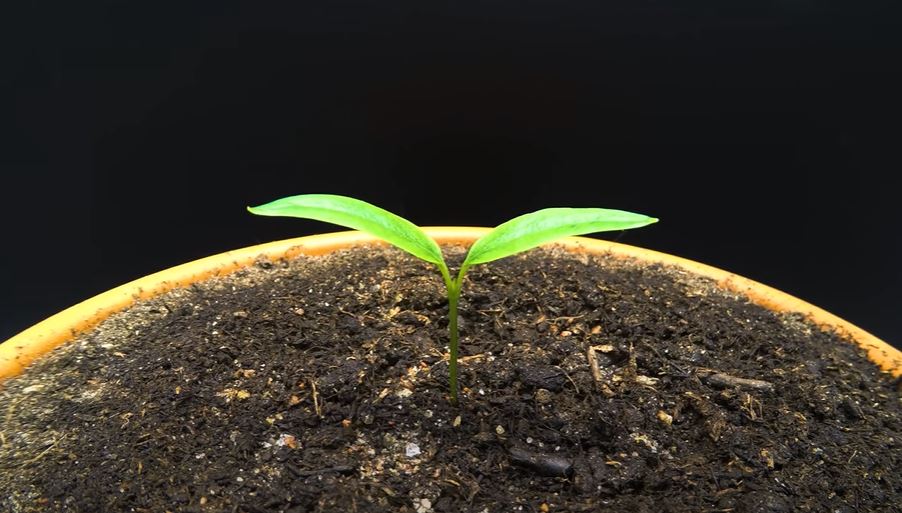
Keep up with the watering schedule throughout the maturing phase of your bell pepper trees. And consider fertilizing the seedlings after 2-3 weeks after the first true leaves emerge and keep up with minimum fertilization once every 2 weeks. Use 11-3-8 fertilizer during the young age of your pepper plants (before flowers and fruits appear).
The progress from seedling to a young plant may take 35-50 days, depending on the variety.
Adult plant
Flowers are the sign that tells us the pepper trees have reached the adult stage and won’t take long to start fruiting. When the flowers have sprouted, switch to phosphorous and potassium-based fertilizer to promote fruit growth.
Why? Nitrogen boosts leaves and flowers spawning, which we don’t need right now. So look for fertilizers with NPK ratios like 2-3-1 or 2-3-2.
Counting from the first bud to the harvesting time of a grown pepper, gardeners shall spend around 2 more months of easy but daily care.
Pollination
Bell peppers are self-fruitful so cross-pollination or artificial–pollination provided by gardeners isn’t needed. You can ignore this phase!
Harvest
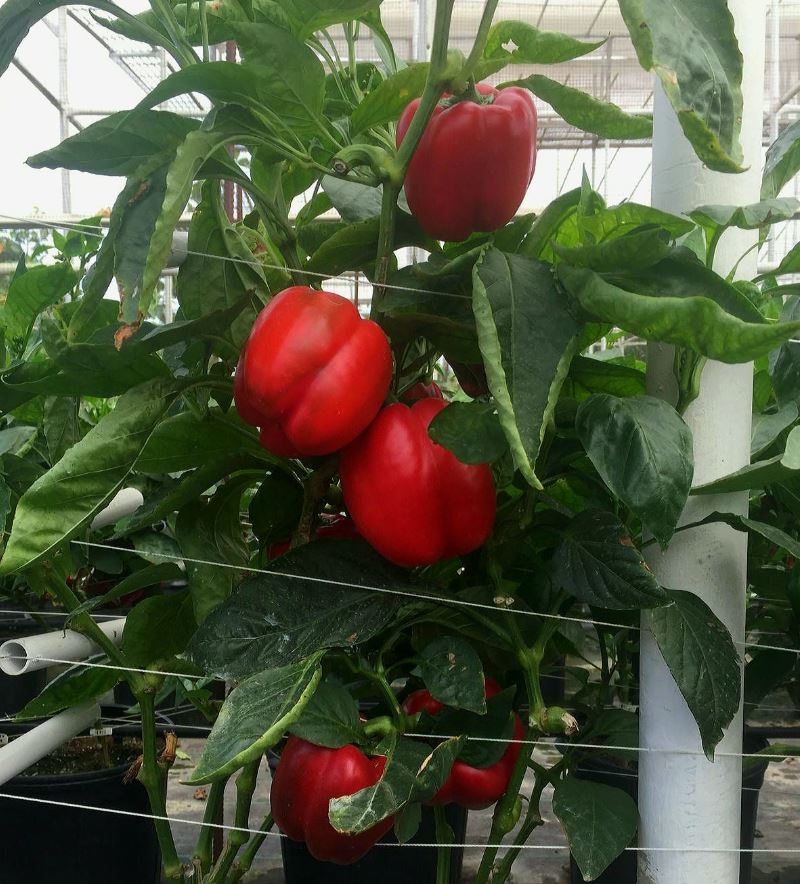
It would help to cut off the bell peppers from the stem if you had secateurs or a pruning shear. Avoid plucking the fruits by hand because you will break them easily due to how fragile peppers are! After that, you can store the fruits in your fridge in a well-aerated corner, lasting up to 2 weeks.
Try making these recipes if you want to taste bell peppers in their greatest element:
- Classic stuffed bell peppers
- Roasted bell peppers with beef
- Pickled bell peppers
- Scrambled eggs
- Roasted red pepper sauce
How To Care For Your Pepper Tree
Learn all the best living conditions for your bell pepper trees here!
Light
Bell peppers need 6 to 8 hours of sunlight daily to thrive beautifully. As we all know, photosynthesis is vital for fruit plants as the energy provided by the sunlight, combined with water and CO2, creates carbohydrates – the fuel for growing healthier trees and bigger fruits.
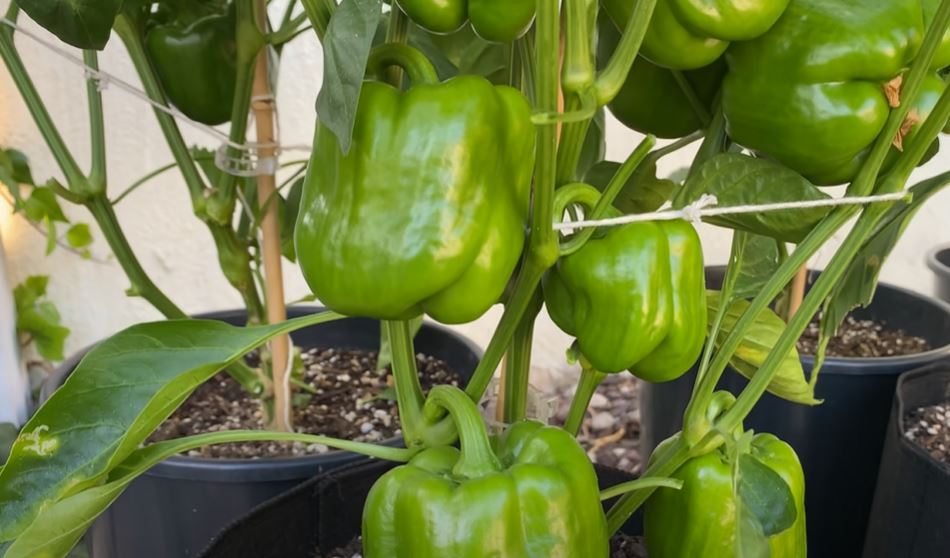
Therefore, I highly suggest growing peppers outdoors if possible. If not, it’s necessary to place the pepper pots next to a direct light source, like on top of a window sill or on your front patio.
With that said, too intense sunlight will crack the fruits or even stop the flowers from blooming. So, in case you plant pepper seeds in an open garden in an area with frequently blasting sunlight, use a shade mesh or any other suitable material to cover the plants in the hottest summer months.
Temperature
Peppers prefer a warmer climate and don’t tolerate frosty winters. That’s why gardeners choose to grow this vegetable as an annual crop even though it’s biologically perennial.
Providing a consistent temperature between 60 to 80oF is advisable for growing this species. Going above or below the recommended range may cause stunted growth, fewer flowers and buds, and fruits with weird shapes.
Humidity
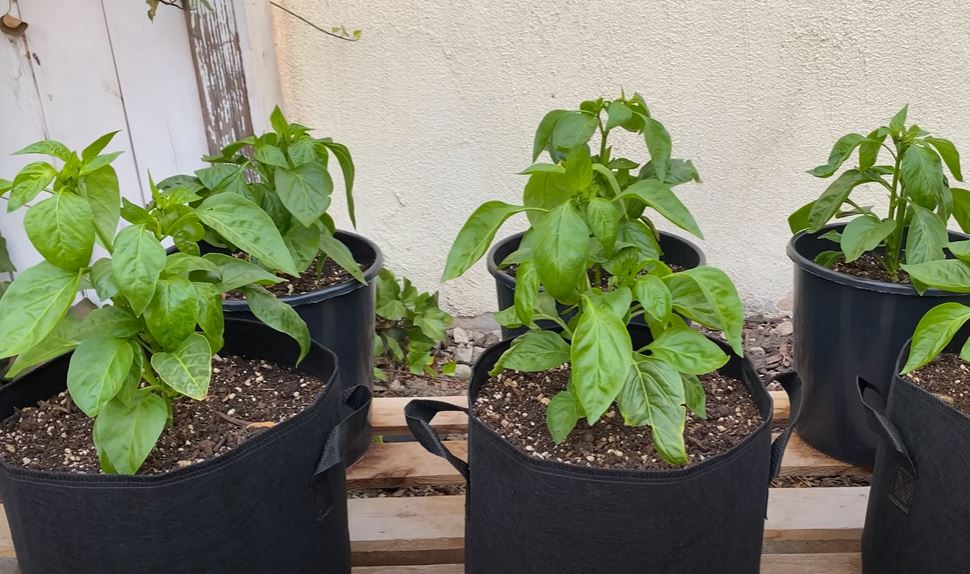
Deep watering is beneficial for plants like bell peppers. So ensure they receive 1 to 2 inches of water per week. If the soil is highly well-drained, the frequency may be higher. So check the soil’s surface to see if the first inch is damp or not. If it’s only slightly moist, provide water immediately.
Also, watering twice is nothing out of this world on hot days. Choosing to water in the early morning and late afternoon is a wise decision to optimize photosynthesis. How? Watering in the morning provides material for photosynthesis while watering in the afternoon helps plants cool off without the liquid evaporating too quickly.
Oxygen
Peppers love water, but oxygen is a huge part of their diet. That’s why I initially suggested using perlite as part of the soil blends to provide more air pockets and avoid excessive water retention.
Diseases
Some common diseases that bell peppers suffer are:
- Sunscald
- Fruit crack
- Misshapen fruit
- End rot
- Bacterial spot
The best way to provide sunscald, fruit crack, or misshapen fruit is to provide shade to your crops on too-sunny days. As for diseases caused by bacteria or fungi, planters must consider using fungicides as the cure and preventative method.
Use organic fungicides, like Neem Spray or Bi-Carb fungicide, after about a month of growing the crops (when the flowers start appearing). You can spray before the buds appear if bugs seem to be circling the plant or simply to prevent any sneaky bacterial attack while you don’t notice.
Fertilizer
Bell peppers love fertile soil, so starting with fertilizer early will benefit these plants. As I mentioned, it’s advisable to apply fertilizer to the soil, preferably liquid, after only 2 weeks when the seedlings have grown a bit.
- During the seedling and young plant period: Search for fertilizers with a higher nitrogen ratio since the component focuses on growing foliage and flowering. The number of flowers shows how many bell peppers there will be in the future, so stimulating their growth while the tree is still in its early age is crucial for an amazing yield. 11-3-8 is a good ratio.
- During the last maturing period: Switch to fertilizers with higher phosphorous and potassium ratio since the flowers and fruits are emerging at this time. Providing too much nitrogen during this stage will cause the tree to distract from growing the fruits and switch to growing more leaves instead. If you want bigger fruits, tone the nitrogen down with fertilizers of a ratio of 2-3-2 or 2-3-1.
With all the tips I give you, I don´t doubt you will be able to enjoy your first roasted bell pepper recipe soon!
